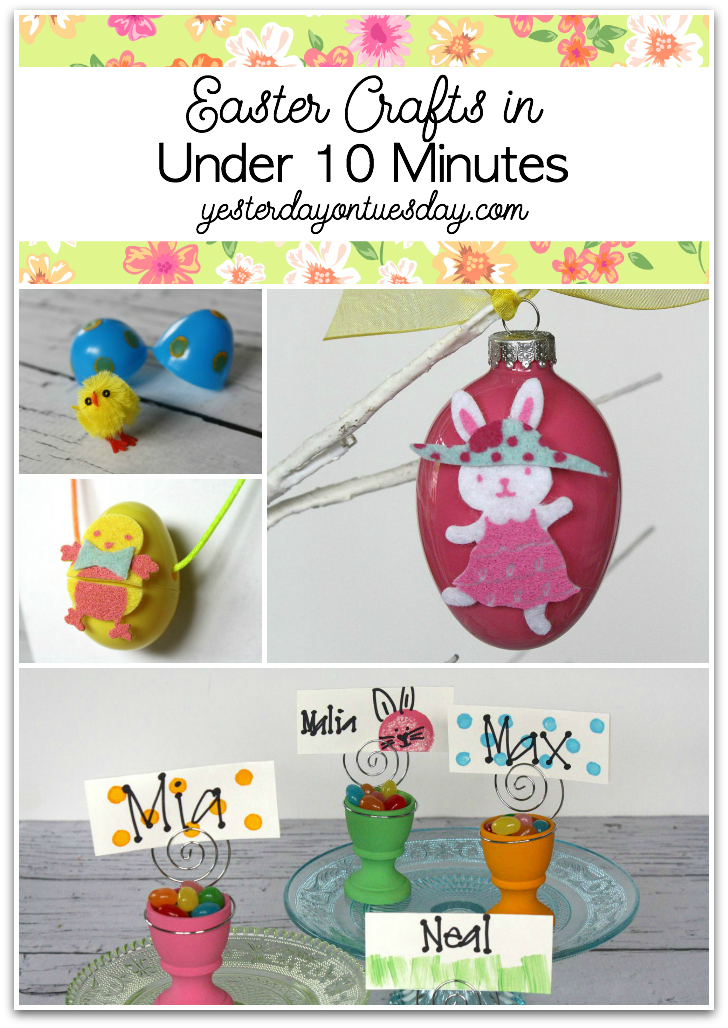
Spring Decor Ideas for Easter and Beyond
Catch these ideas live on KOMO 4 at 4pm on Tuesday April 11th.
Spring Decor Ideas for Easter and Beyond
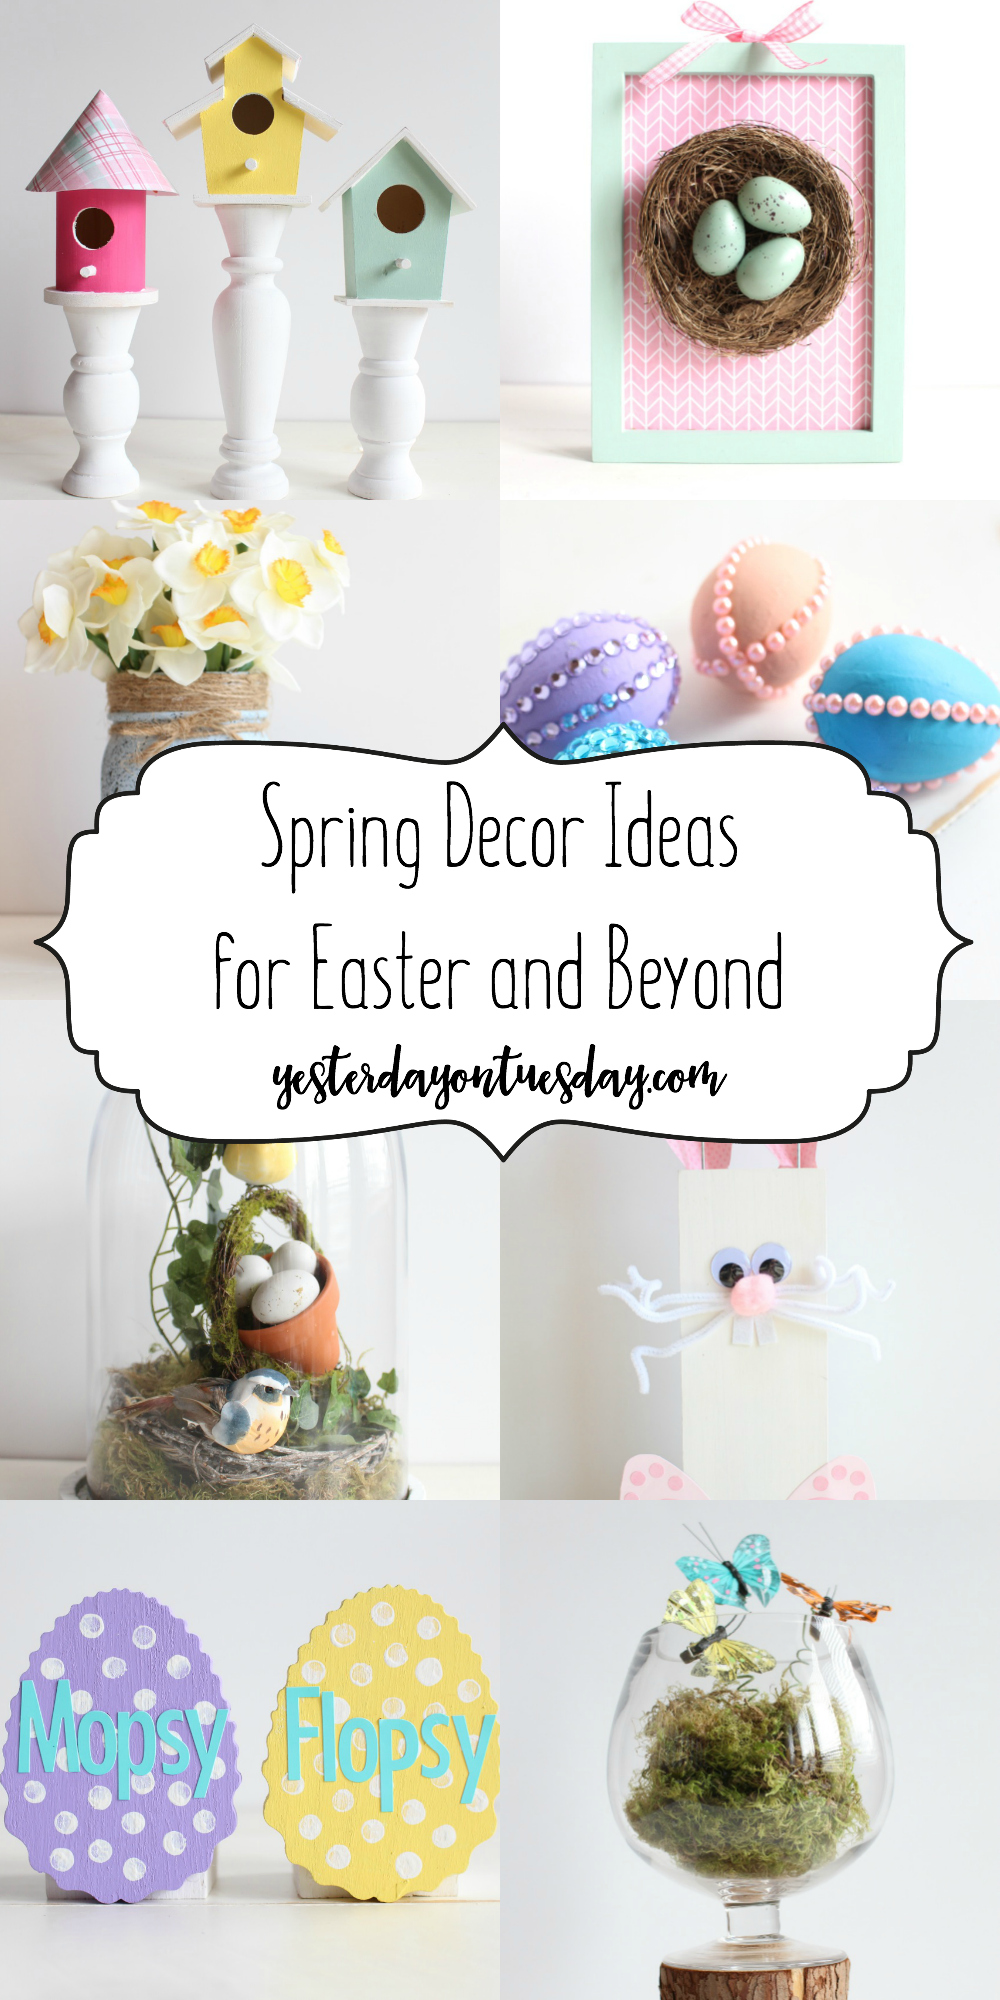
I love decorating for Easter but let’s face it– after the bunny has hopped around your home, there’s still plenty of the season left… that’s why I’m all for Spring Decor Ideas for Easter and Beyond. Here are some easy ways to add a little Easter charm and some equally simple but also more impactful projects to decorate your home. All the materials are available at Ben Franklin Crafts and Frames in Redmond.
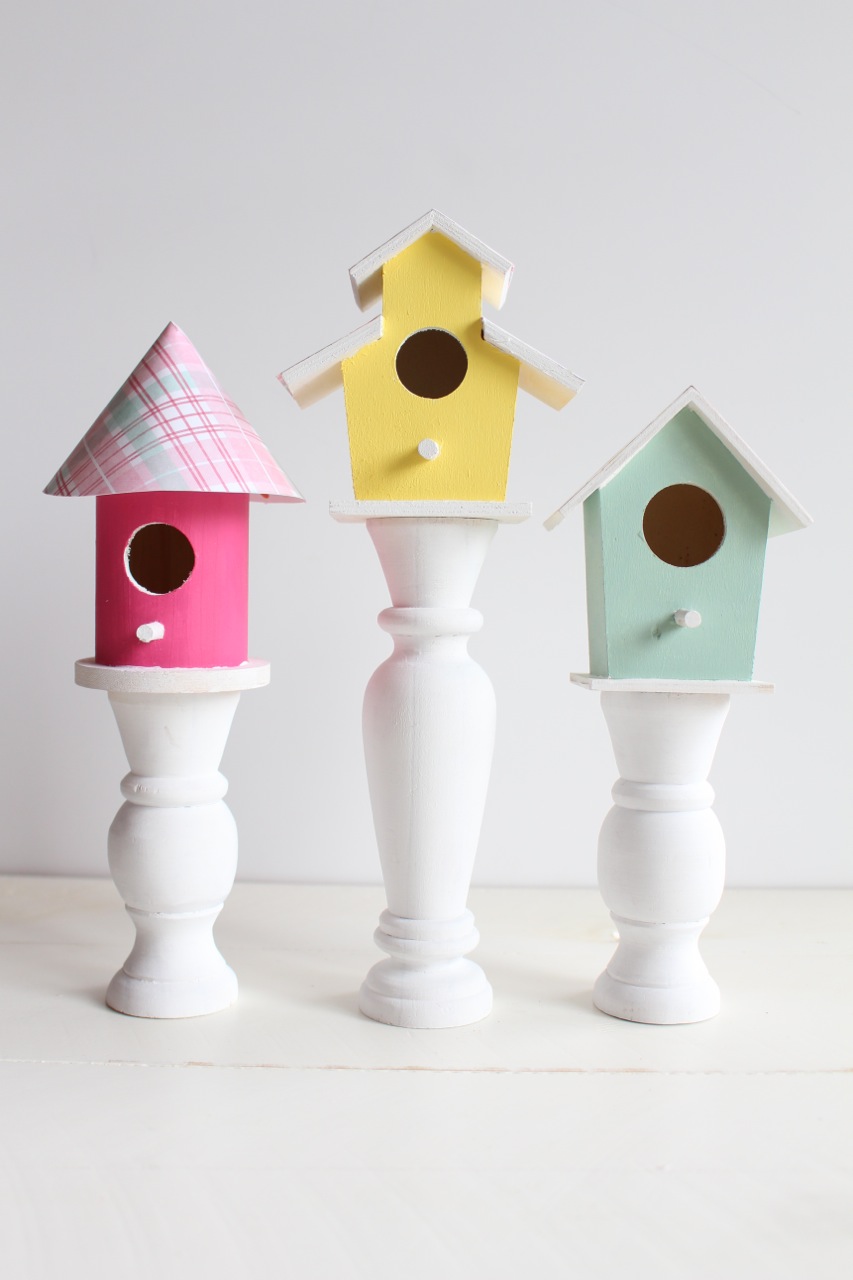
Birdhouse Candlesticks
Materials: 3 wooden candlestick holders (varying heights), 3 small wooden birdhouses, acrylic paint (I used DecoArt in Sea Glass (light green), Sunny Day (yellow) and Snow. I also used Delta Creative in Fuchsia (pink). You’ll also need at least three different patterns of scrapbook paper. I used Photo Play Paper “Bloom” by Tracy Smith. You’ll also need craft glue, masking tape and paint brushes.
Directions
1. Paint the candlesticks and birdhouses white, let dry.
2. Cut scrapbook paper to fit the roofs of the birdhouses.
3. Tape off the roofs and paint the walls of the houses with the colorful acrylic paint.
4. Glue the paper to the various roofs.
5. Glue the birdhouses to the candlesticks.
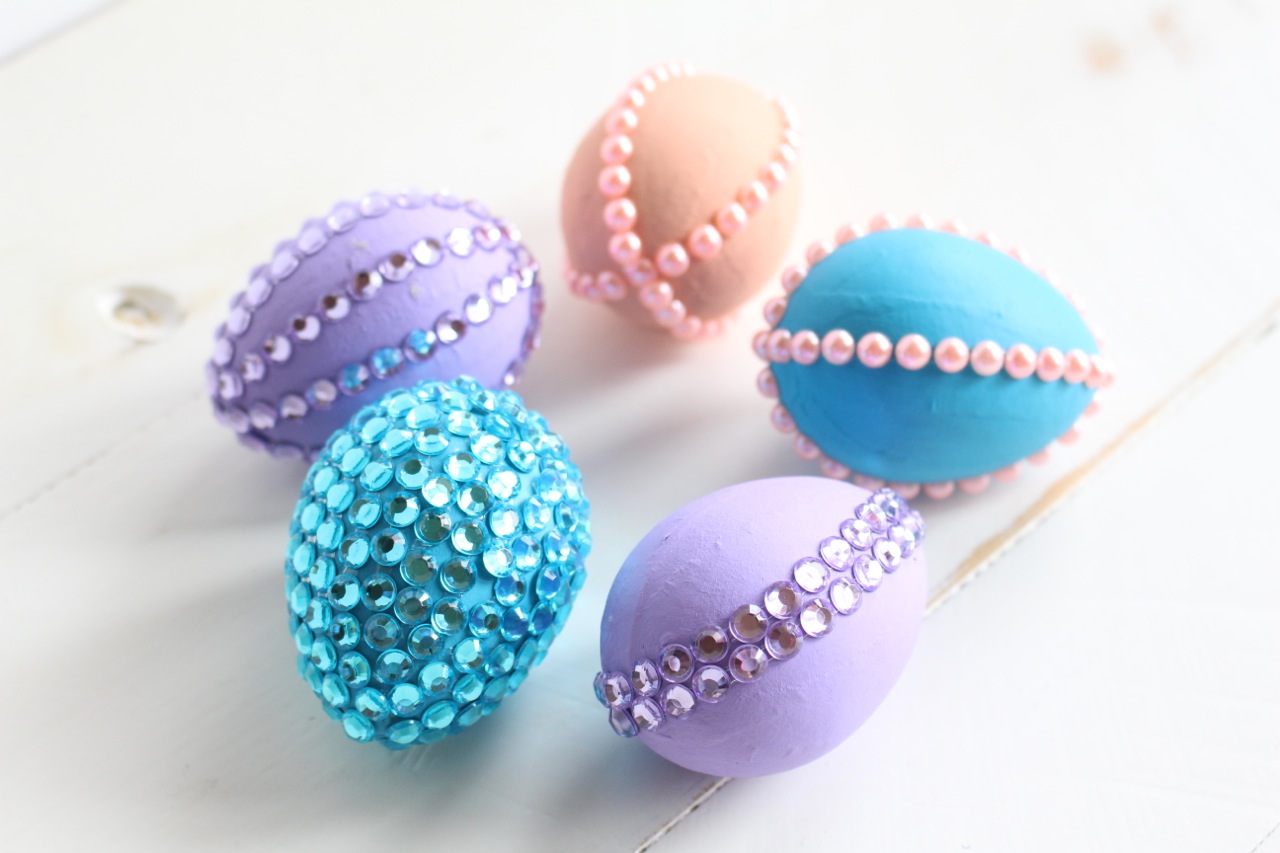
Bejeweled Easter Eggs
Materials: Cardboard eggs, acrylic paint (I used DecoArt Calypso Blue, Coral Shell and Purple Cow), and adhesive jewels both rhinestones and pearls.
Directions
1. Paint the eggs and let them dry.
2. Cover the eggs with adhesive jewels both rhinestones and pearls. You can either totally cover the egg or make patterns with the jewels.
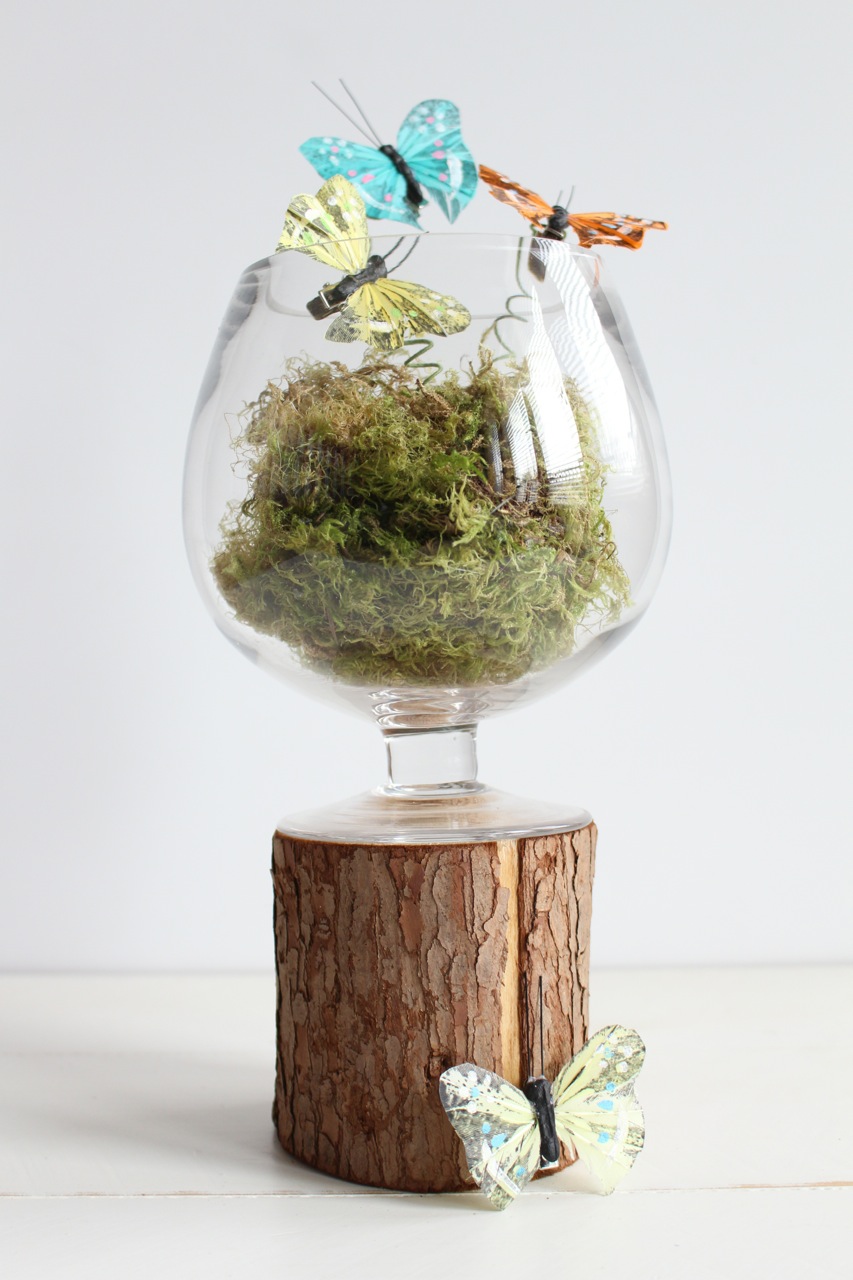
Butterfly Terrarium
Materials: 6 Back of Critter Accents Butterflies, large glass “goblet”, small wooden stump, green floral wire, a pencil, small styrofoam ball, moss, craft glue, and green acrylic paint (I used Desert Cactus from DecoArt).
Directions
1. Paint the styrofoam ball green.
2. Snip off a piece of green floral wire and wind it around a pencil to give it a springy type shape. Leave the end of the floral wire straight.
3. Clip a butterfly on each piece of wire (I used 3).
4. After the paint on the styrofoam ball is dry, use the glue to cover it with moss.
5. Place the ball inside the glass container. Poke the straight part of the wire into the ball.
6. Add more moss around ball if desired.
7. Place glass container on small wooden stump.
Framed Nest Art
Materials: 5 x 7 wooden frame, acrylic paint (I used DecoArt Sea Glass), ribbon, hot glue, scrapbook paper (I used Photo Play Paper “Bloom” by Tracy Smith), scissors, faux nest and fax eggs.
Directions
1. Paint the frame and let dry.
2. Remove the glass and cardboard inserts from the frame.
3. Trim a piece of scrapbook paper to 5 x 7. Put it in frame followed by glass and cardboard.
4. Using hot glue, glue nest to center of paper and glue faux eggs inside.
5. Add a drop of hot glue on the top center of the frame. Add ribbon and make a bow.
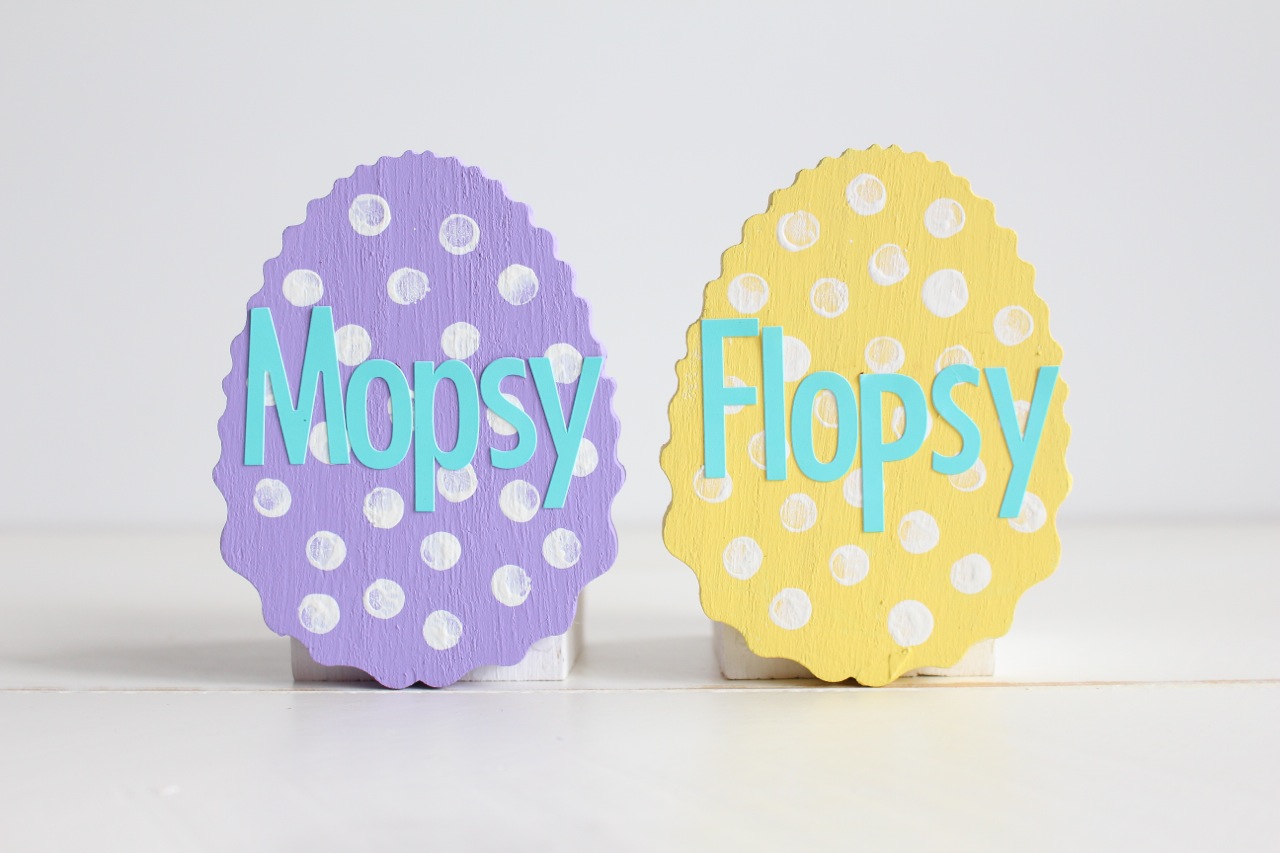
Easter Egg Place Cards
Materials: Package of wooden egg shapes (there are 6 in pack), small wooden blocks, various acrylic paint colors including white, a small white spouncer (or pencil eraser), letter stickers (these are skinny by Doodlebug Designs).
Directions
1. Paint the eggs and wooden blocks white.
2. Paint the eggs again with springy shades of paint (I used lavender and yellow).
3. Dip the spouncer into the white paint and make polka dots.
4. Use letter stickers to make the name.
5. Glue the wooden egg shapes to blocks to create place cards.
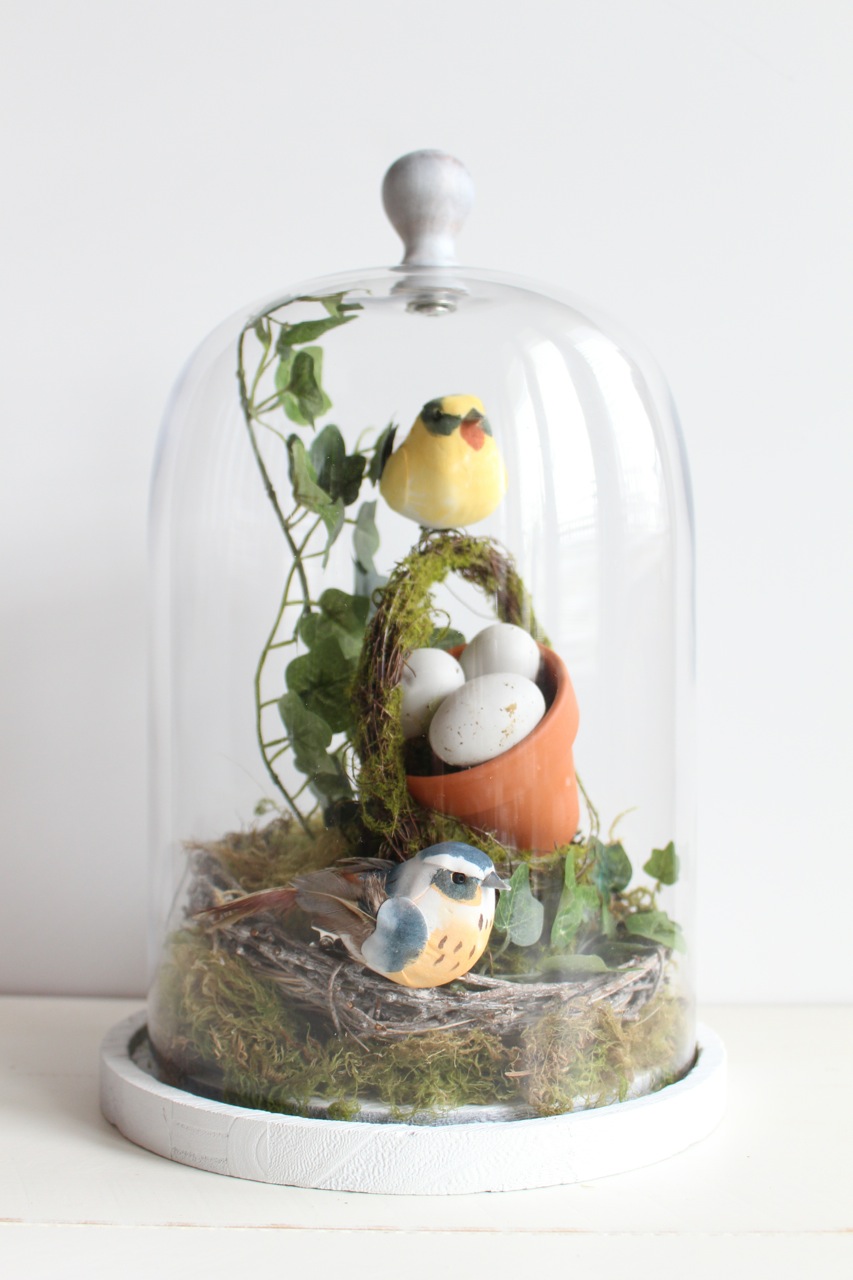
Bird’s Nest Cloche
Materials: Large Glass Cloche, large fax bird’s nest, small flower pot, small moss basket, faux eggs, faux ivy, two small faux birdies, moss and glue (optional).
1. Remove cloche lid and add moss moss and large nest.
2. Arrange small moss basket, small flower pot, eggs, birds and ivy. Optional: glue the items down.
3. Add moss around nest.
4. Replace lid.
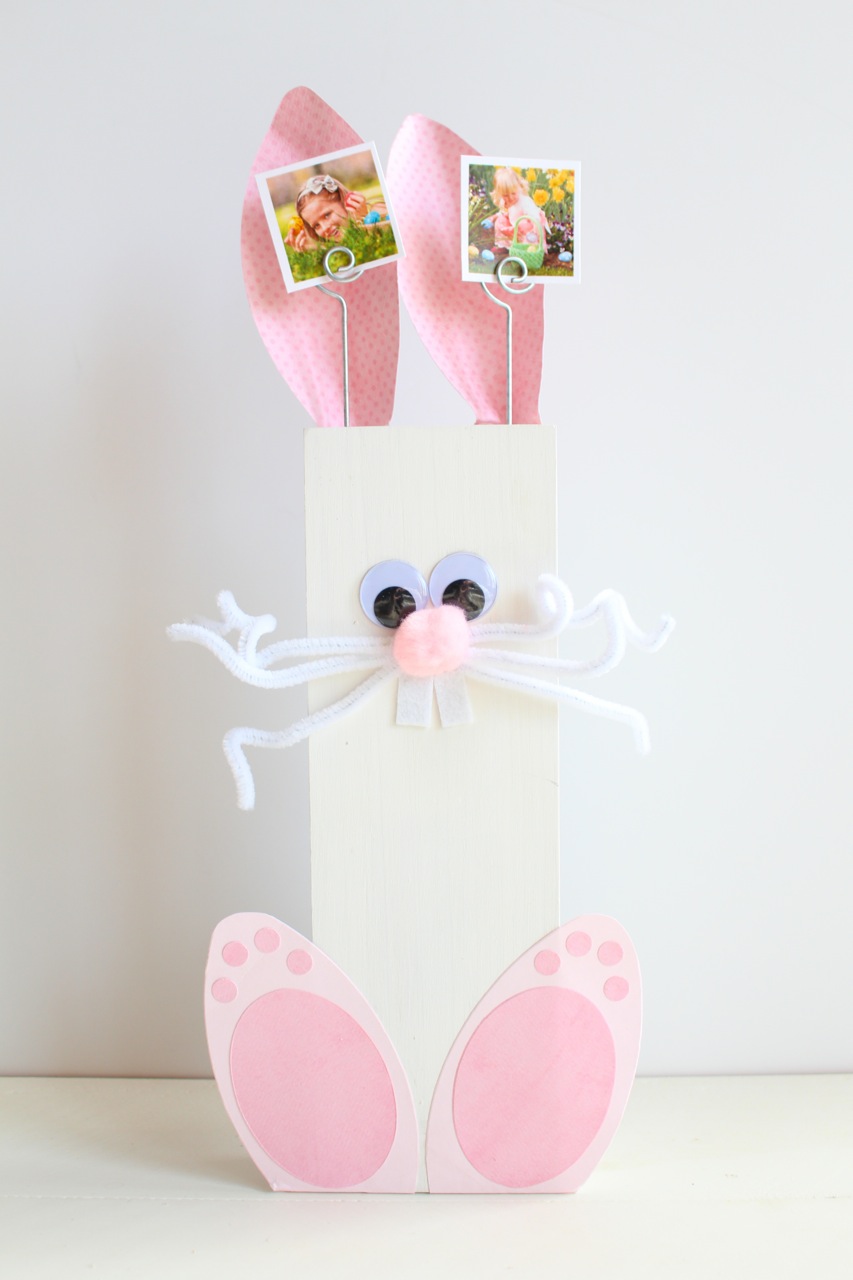
Easter Bunny Picture Holder
Materials: Wooden block with photo holders (kit). white paint, 2 googly eyes, felt or paper to make nose, white pipe cleaners for whiskers, scrapbook paper for ears, pink pop pom for nose, large white pom pom for tail, small white felt square for teeth and craft glue.
1. Paint the wood block white and let it dry.
2. Cut out ear, toes and feet shapes. Trim pipe cleaners into whiskers.
3. Glue ears, eyes, nose, teeth, feet and whiskers to front of bunny. Glue pom pom on back for tail.
4. Insert picture holders on top of bunny and add photos.
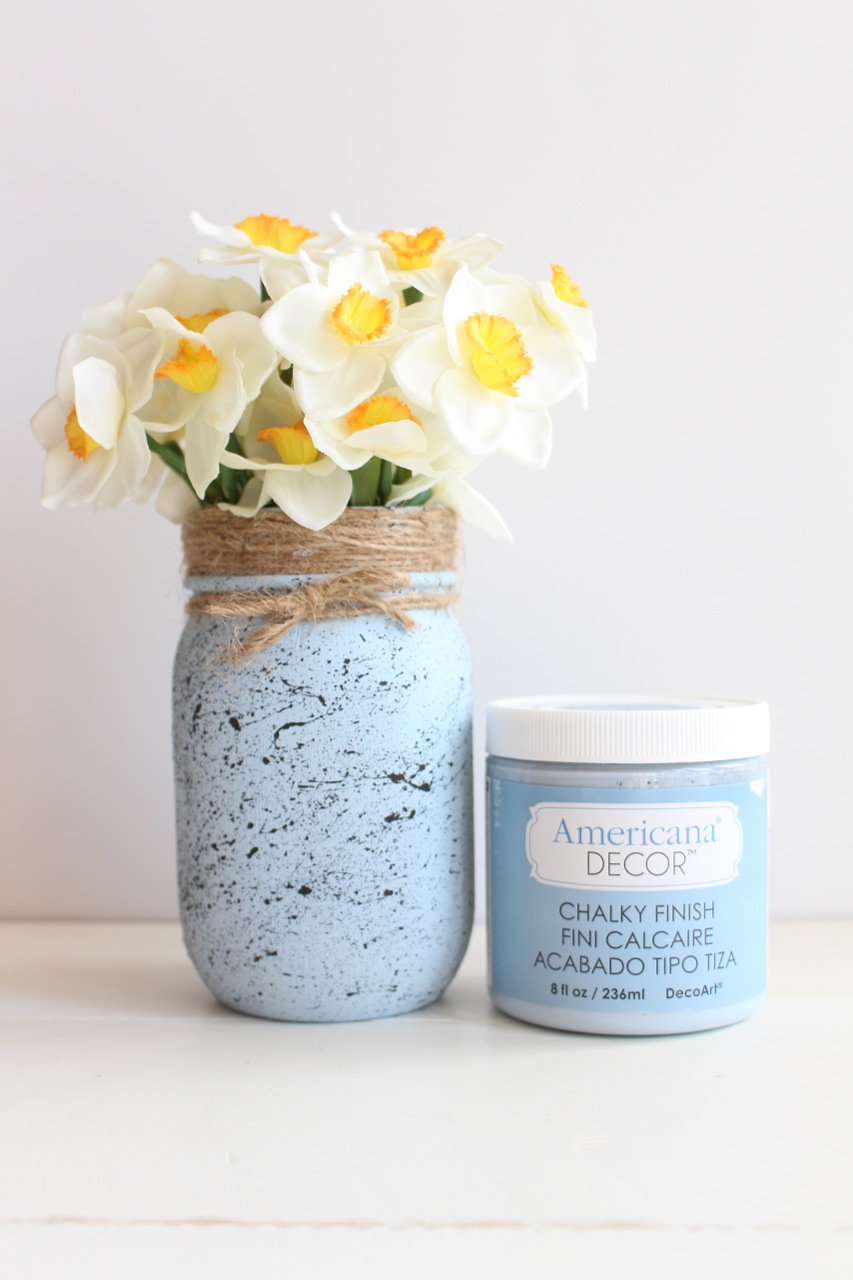
Speckled Mason Jar
Materials: Half Pint Sized Mason Jar (by Ball Canning), Primer in white, DecoArt Chalky Finish Paint in Serene and Rustic, DecoArt Acrylic Paint in Black, Twine, Hot Glue + Glue Gun, Old Toothbrush
Directions
Step 1: Apply a coat of primer.
Step 2: Paint the jar “serene.”
Step 3: Mix “rustic” with a little bit of black paint and mix. Dip paintbrush in and then with fingers, flick the toothbrush bristles next to the jar. That’s how you get the speckles.
Have fun creating spring decor!

